Die-cast parts made of aluminium and magnesium alloys are increasingly being used in the automotive industry. Their advantage: they ensure a considerable reduction in vehicle weight. Zero-defect quality at the lowest possible cost is the declared requirement for the castings. Automation is therefore the magic word, especially in the areas of production and processing. The system from VisionTools Bildanalyse Systeme GmbH with integrated image processing uses an Ensenso 3D camera to record the component geometry of each individual casting and check its condition and completeness.
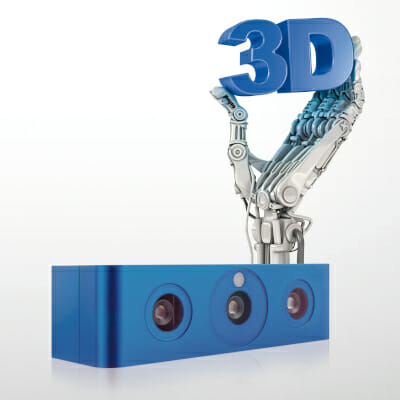
VisionTools uses an Ensenso N35 3D camera from IDS Imaging Development Systems to make the casting beans in the images distinguishable from the background. However, different workpieces often have different gloss characteristics. The camera must be able to cope with these challenges. Since the quality of stereo vision is directly dependent on the lighting conditions and surface properties (texture) of the objects to be inspected, Ensenso 3D cameras are particularly suitable for this application due to their method. This is because they improve the classic stereo vision process with a special technique. All Ensenso 3D cameras work according to the “Projected Texture Stereo Vision” method. Each model uses two CMOS cameras and a projector that projects auxiliary structures onto the object to be recorded, in this case onto the castings, in order to increase the accuracy of the surface image.

The two CMOS cameras view the respective casting from different positions. Although the image content of both camera images appears identical, they show differences in the position of the object being viewed, e.g. the engine components or chassis parts. Since the distance and viewing angle of the cameras as well as the focal length of the optics are known, the Ensenso software can convert these deviations into known lengths by triangulation and thus determine the 3D coordination of the object point for each individual image pixel and merge them into a 3D point cloud of the casting to be processed. In addition to a higher quality of depth information, this also achieves more precise measurement results. The camera-supported image processing solution reduces errors during part inspection to a minimum. The standstill of the die-casting machines can thus be almost completely avoided. For more use cases on industrial image processing, please visit the knowledge base on the IDS website.

