Excel Precision, a prominent player in the UK’s EDM (Electrical Discharge Machining) sector, recently worked with Bowers Group to address a complex machining challenge faced by a machine tool company. The solution cut the client’s component setting time from around a week to less than an hour, also resulting in a 12-week reduction in production time.
Steve Batt, Technical Director at Excel Precision, said, “Our innovative solution transformed a complex and time-consuming process into a highly efficient one. By incorporating innovative technology from Bowers Group and smart engineering from our team here at Excel, we not only met the client’s precision requirements but also significantly increased their annual production capacity by reducing production time.”
The client had a precision issue with a deep-seated bore, complicating visual inspection and accurate adjustments. The initial approach involved using a conventional DTI (Dial Test Indicator) but proved inefficient, taking 5-8 days to achieve the required runout. This was primarily due to the inability to observe the part’s movement during adjustments in the confined bore, which extended to a depth of 350mm. Excel were tasked to significantly reduce the time required for achieving precise runout within the project’s necessary tight tolerance.

The initial approach involved creating a ball screw adjustment mechanism using a three-point system. This system featured one fixed point and two adjustable points to improve flexibility. Despite this enhancement, the client was still operating without visual cues on the part. As a result, the challenge of time-consuming testing persisted.
With the team having to repeatedly probe the bore horizontally, making minor adjustments until it met the desired tolerance, it quickly became apparent that having real-time visibility into the part’s movement would be paramount to helping speed up the setup.
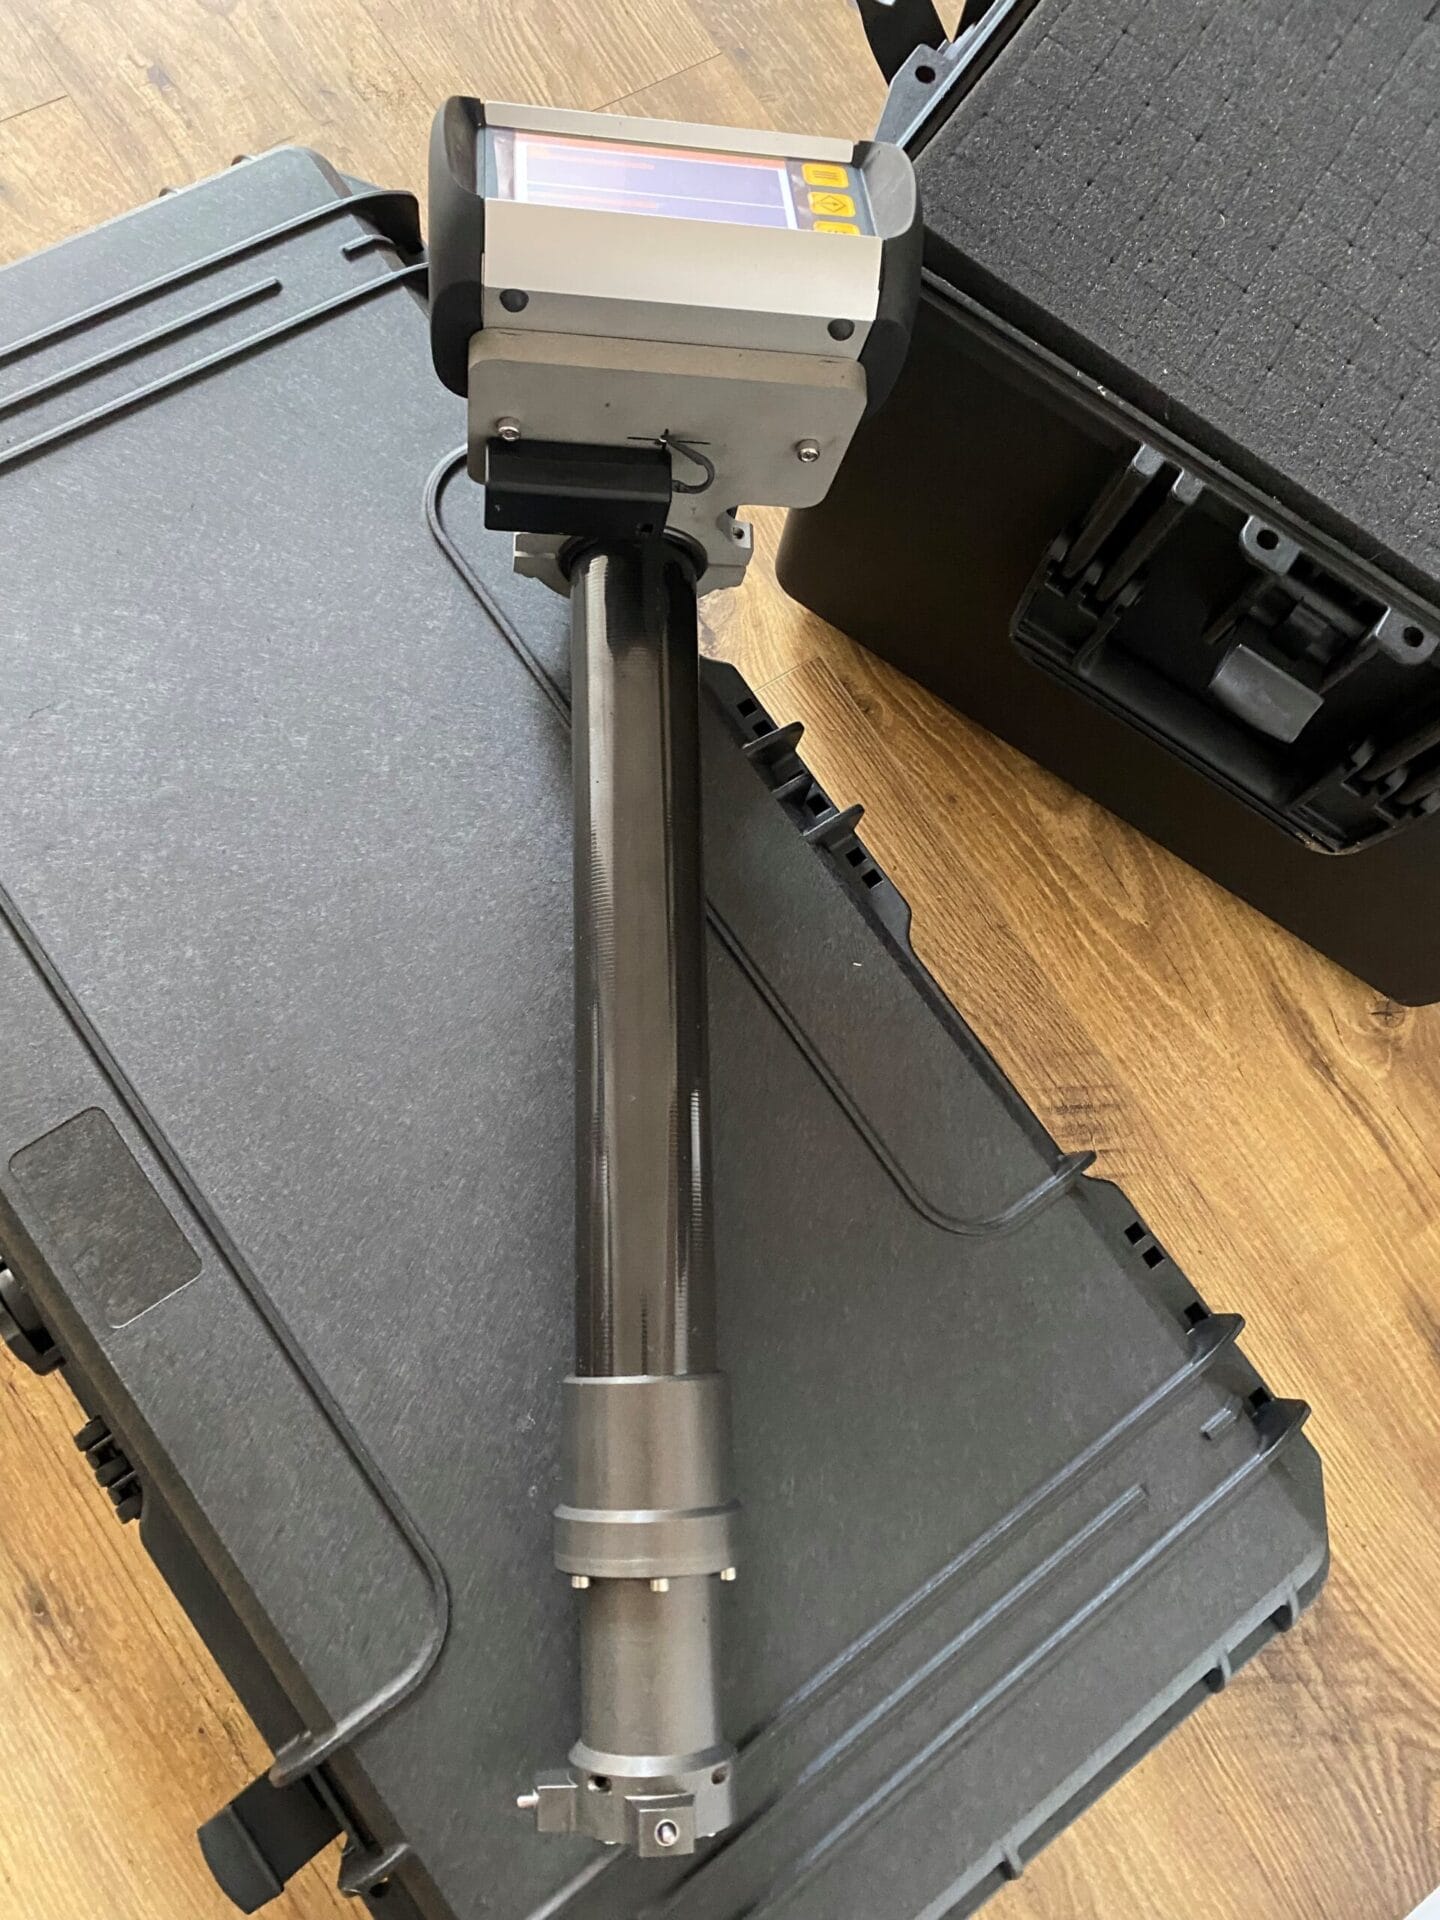
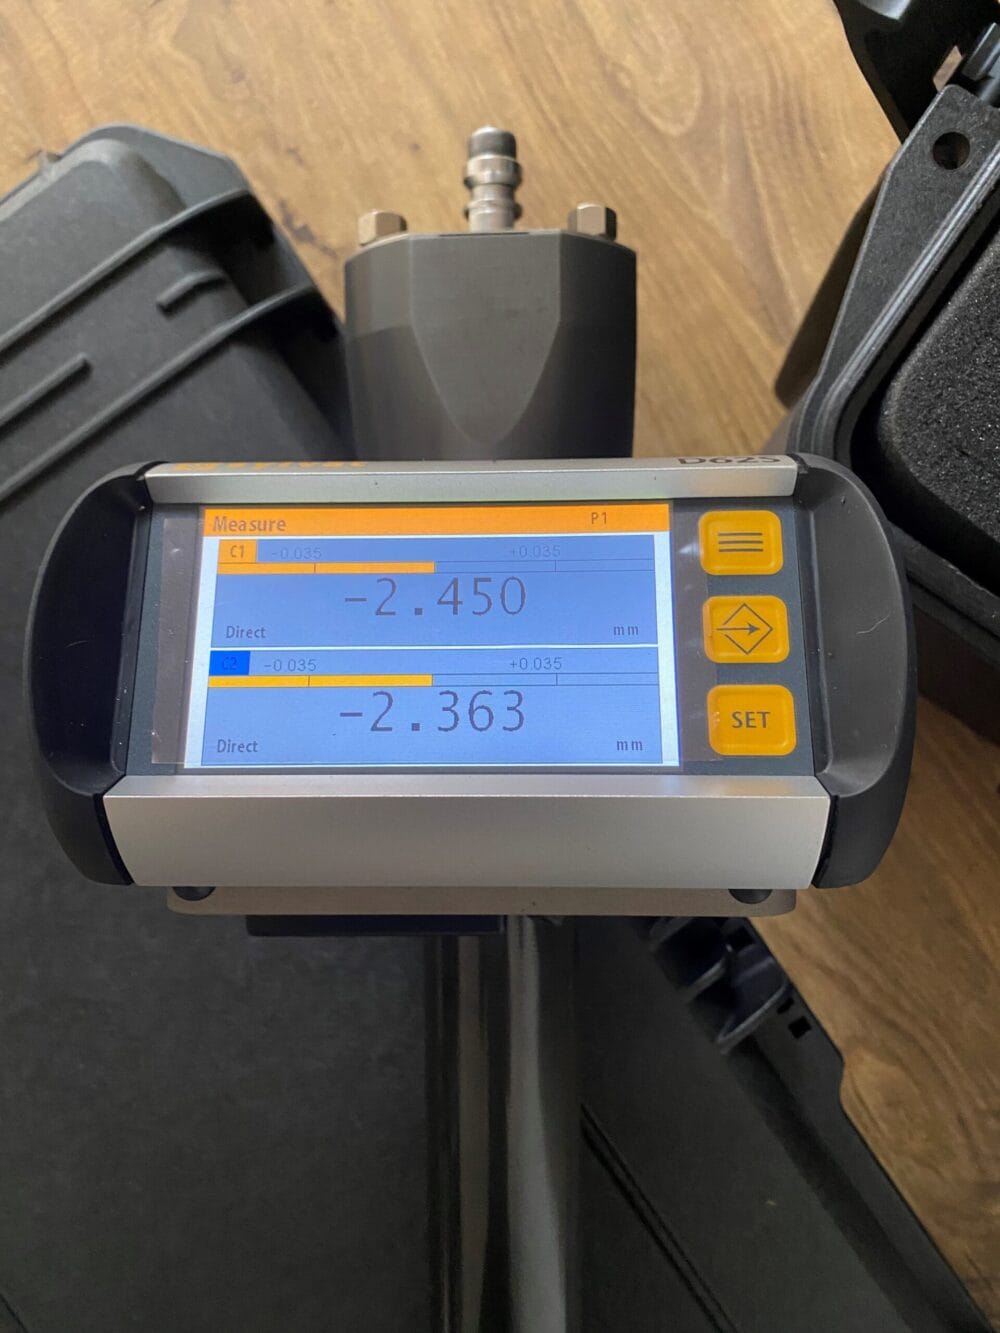
After extensive research, Excel Precision turned to Bowers Group to supply the technology that would streamline adjustments and offer the much-needed visibility of part movement. The SYLVAC D62S Digital Display and PS12D Digital Probe were the identified as the ideal solutions to help solve the visibility issue.
The SYLVAC D62S table display unit and digital P12D measuring probes offer an array of user-friendly features. With functions such as MIN/MAX/DELTA, these tools provide the versatility needed for accurate measurements. They also feature both USB and RS232 data outputs, accommodating different systems.
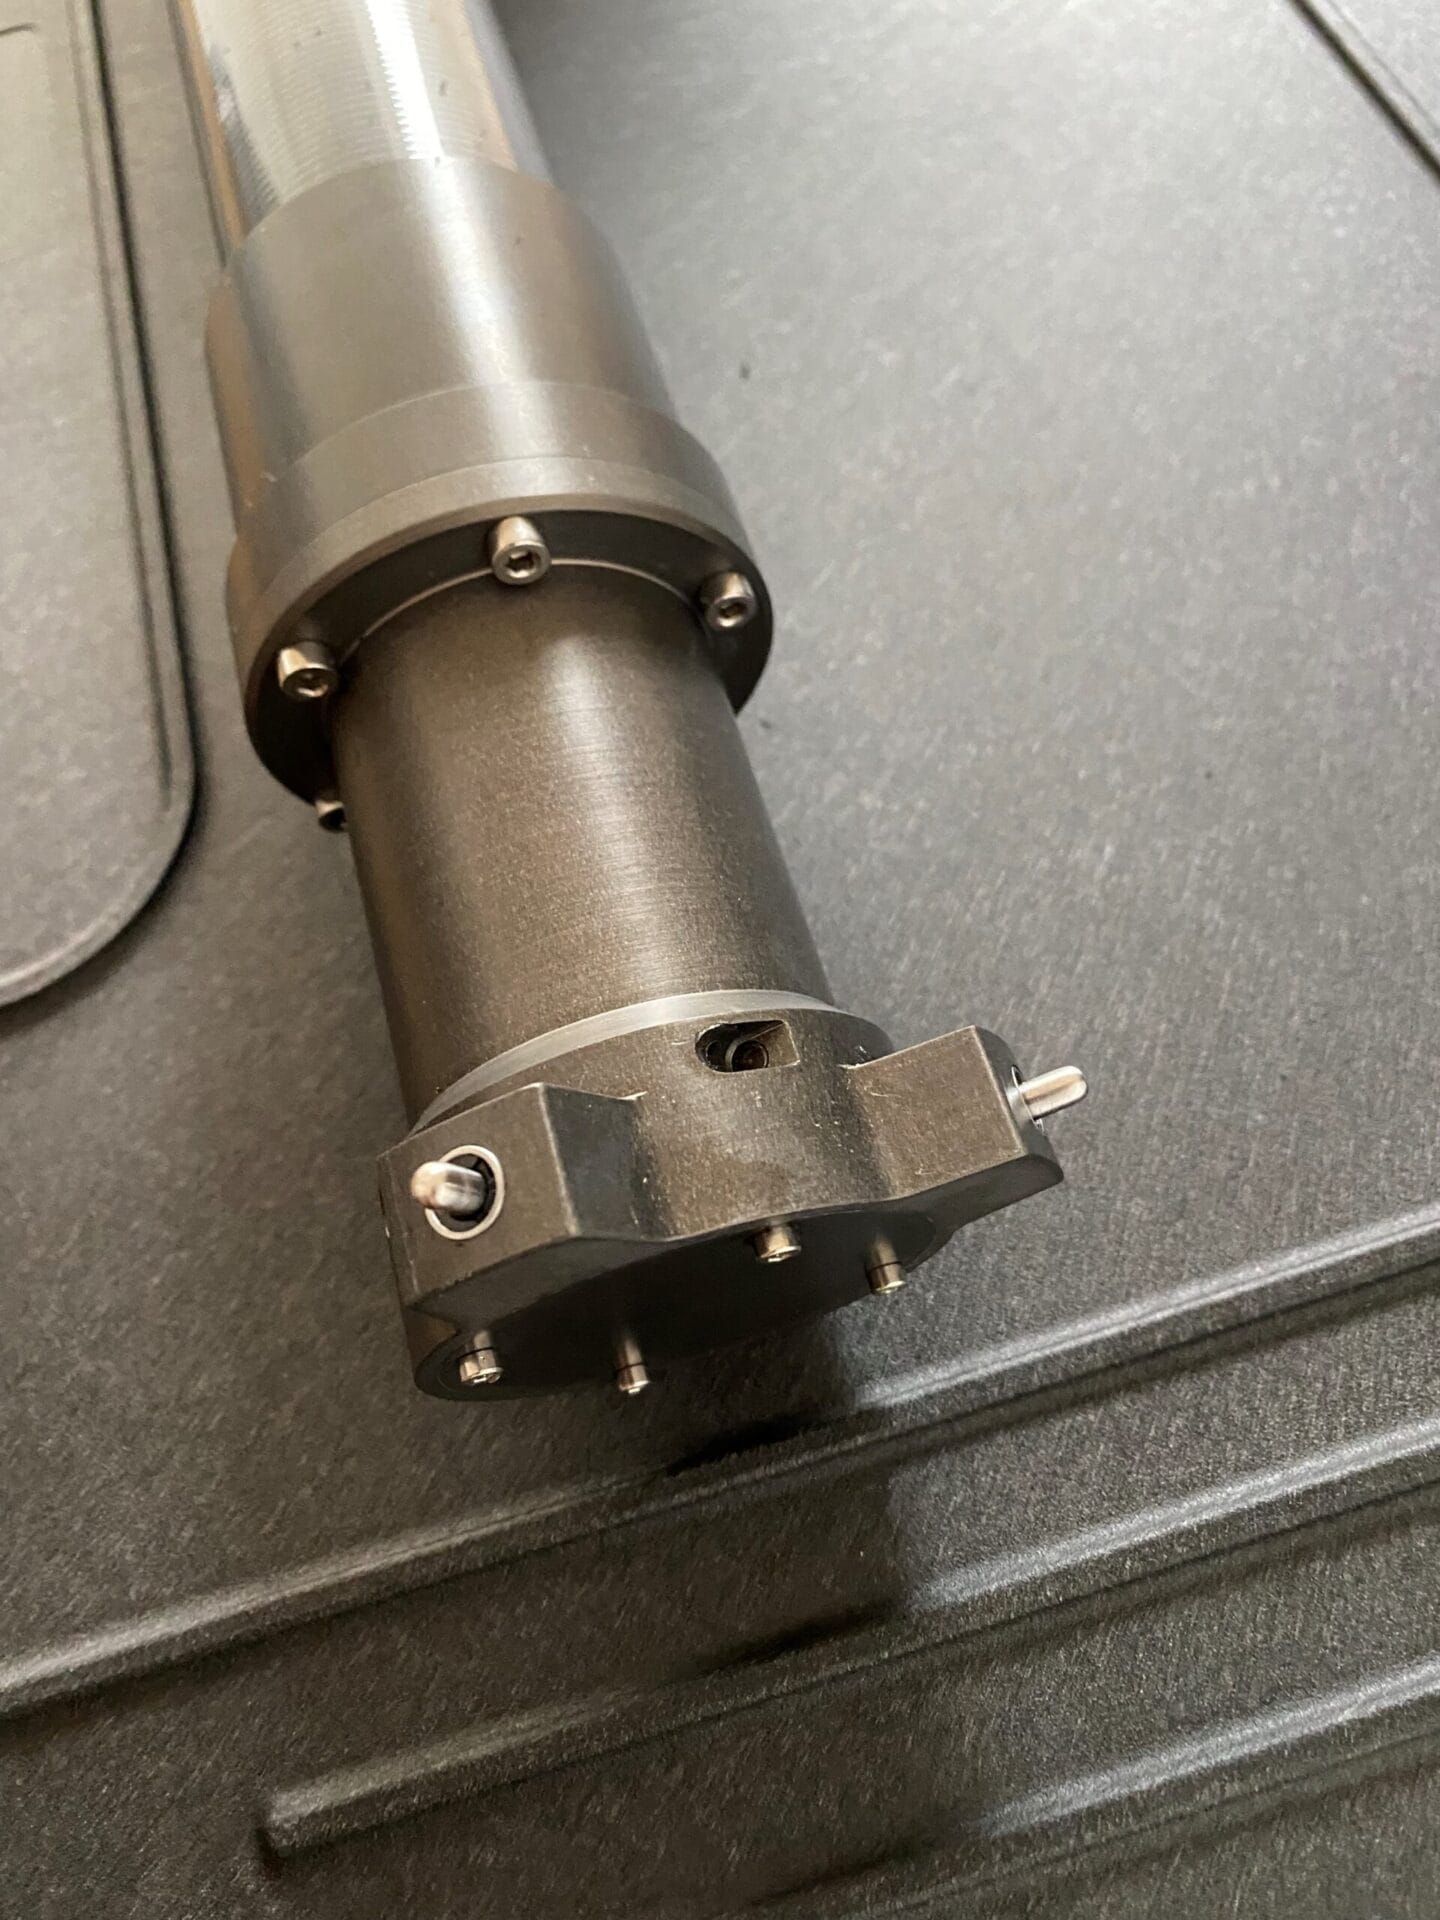
The D62S was mounted on a carbon fibre tube and a wire passed through, connecting it to the two digital probes. A mechanism was also developed that allowed one probe to take measurements in the X direction and the other in the Y direction, ensuring precision despite the tight confines of the bore. This advanced assembly allowed real-time measurement of the part’s movement, enhancing precision during adjustments.

The immediate feedback reduced setup time dramatically, enabling the client to set the component within an hour, a significant improvement from the initial 5-8 days. Additionally, when combined with a custom fixture, it improved the client’s annual production capacity by reducing production time by at least 12 weeks.


