Laser Scanners currently offer the largest measurable work areas but, in some instances, they may not have sufficient accuracy for quality control of larger components.
It is only recently that structured light scanners have begun to achieve better accuracy in work areas of a size similar to laser scanners and achieving improved accuracy thanks to the development of camera and projector technology. The use of new cameras with increased resolution has a significant impact on scanning results. This makes it possible to detect an increased number of flaws and defects on individual scanned objects, which has positive results in the case of quality control.
The advantage of the structured light scanner is that it has a constant accuracy over the entire measuring area. This provides the confidence that the measurements for quality control are with a tool of high accuracy and high repeatability.
In addition, a scanner with a large work area needs to perform a much smaller number of scans than a traditional structured light scanner. This translates significantly into an improvement in the speed of quality control. If the entire detail can fit into the scanning area of such a scanner, then we can talk about making only one scan to obtain the basic dimensions of the object’s dimensions. This can significantly speed up the entire quality control process. From the perspective of integration into production lines, the addition of such a scanner between production steps does not significantly affect the entire process. Because we have a limited period in production, this is extremely important.
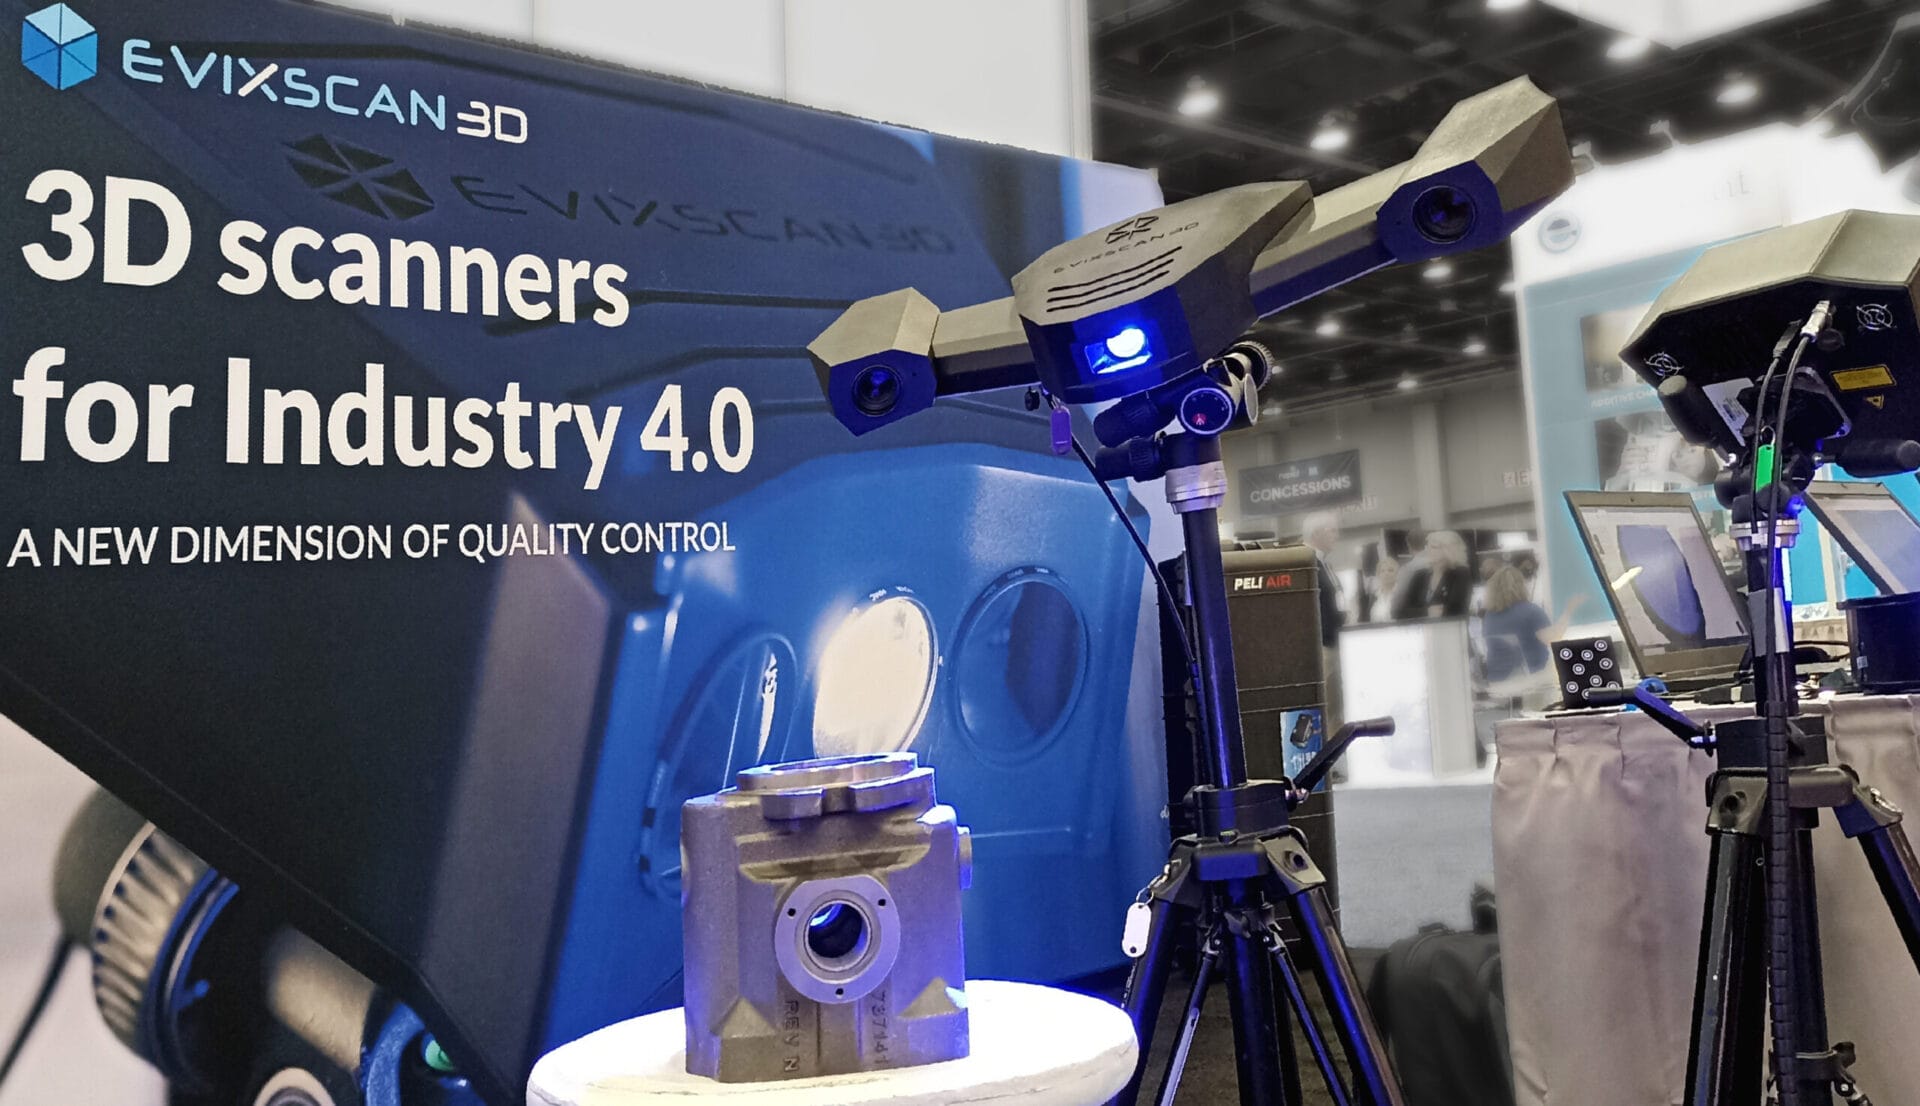
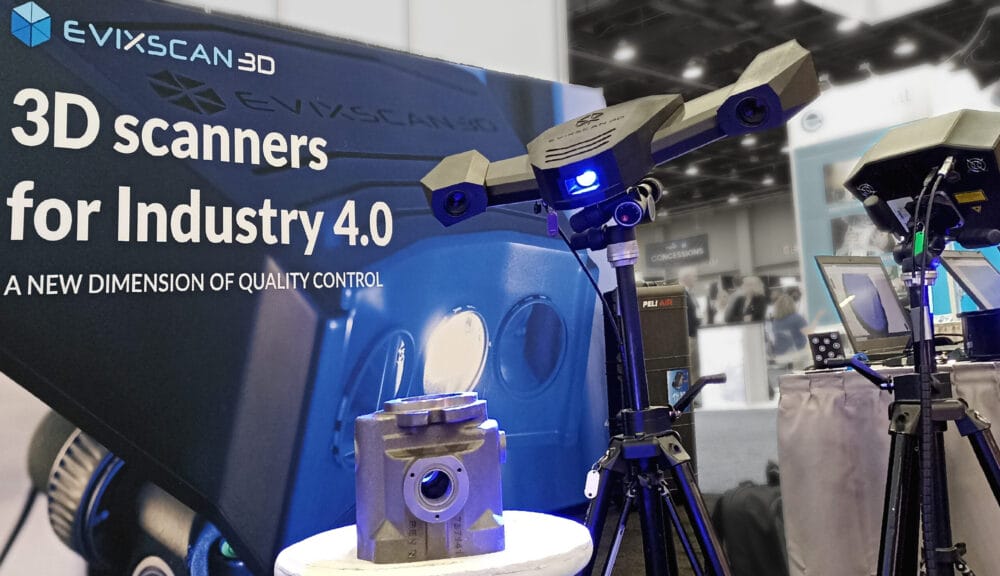
The eviXscan 3D WideRange 65 emerges as an advanced solution designed for meticulous quality control of expansive objects, tailored for dimensions ranging from 300 mm to 1200 mm. This scanner stands out for its capacity to deliver comprehensive, high-accuracy inspection swiftly, integrating seamlessly into diverse industrial frameworks.
Engineered with high-resolution 8.9 Mpix cameras, the eviXscan WideRange 65 offers a fine point density of 54 pts/mm², ensuring detailed representations even over extensive areas of scanning objects, aligning with VDI/VDE part 2 accuracy standards. The instrument achieves a scanning precision of 0.03 mm, fulfilling the stringent demands for accuracy in complex quality control and engineering analysis.
Evixscan Scanners are available in the UK from Optimax Imaging and Inspection www.optimaxonline.com

