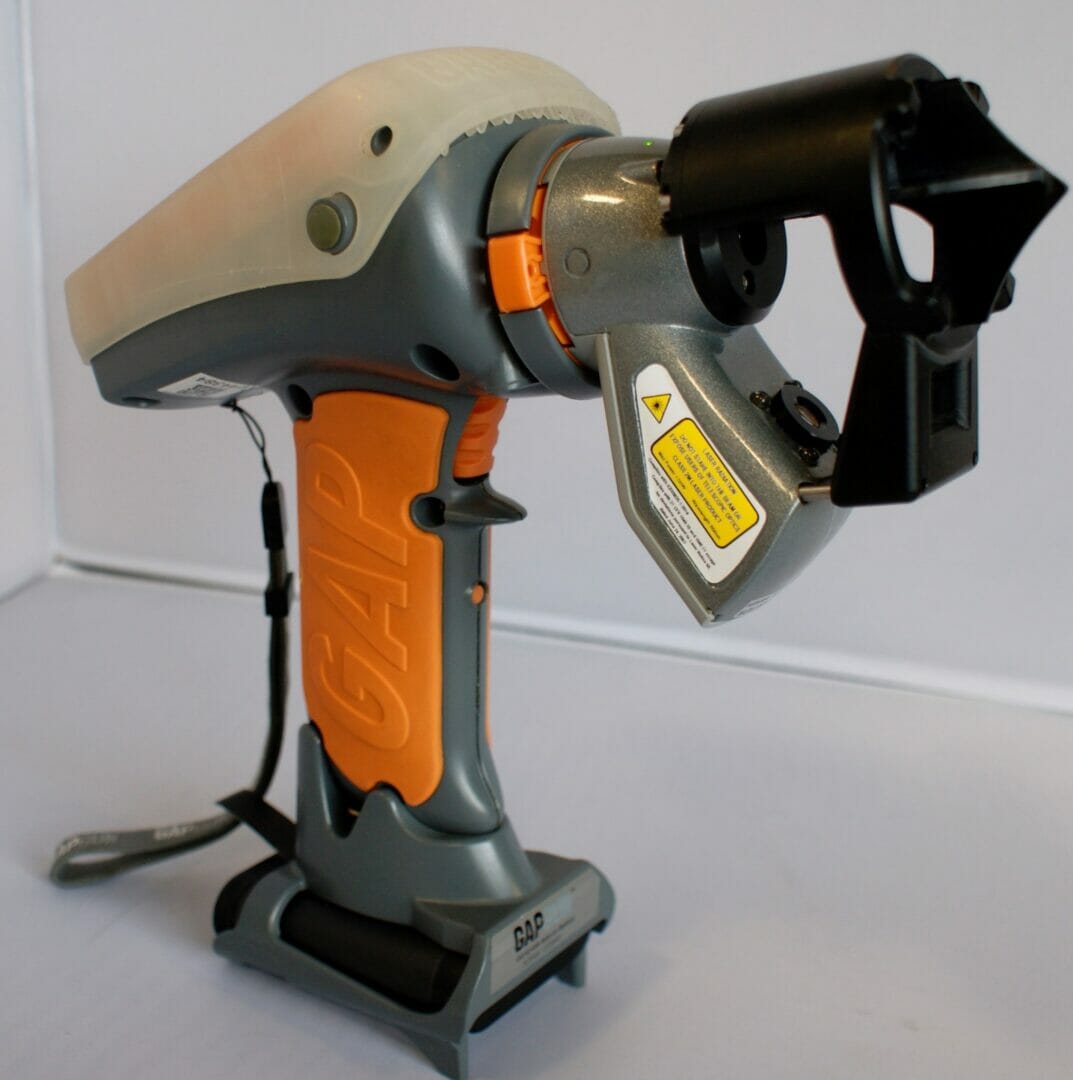
Predict fastener flushness for quality control before fitting
Third Dimension today (1st June 2018) launched an all new countersink measurement solution for its GapGun range. The first of its kind on the market, it can calculate the dimensions of a countersink hole to accurately predict the flushness of fasteners once fitted. What’s more, it can operate in real time on the production lines of aircraft, cars and vans, and also in the energy and marine markets.
Last year in the commercial aviation industry alone, 1481 planes were manufactured with a total estimated 296 million countersinks. The average requirement is to measure 5% of each aircraft’s 200,000 countersink holes, meaning 10,000 countersink holes would have to be measured for every commercial aircraft produced. Done manually, these checks rely heavily on the competencies of the operator and are extremely time consuming.
Dennis de Roos, Third Dimension’s Chief Sales & Marketing Officer, said: “If the hole for a rivet isn’t the right size, it will create severe quality problems, either at the time of production or more worryingly further down the line. Our new, patented system will help prevent these issues in just a couple of seconds, per measurement. For the first time, fastener flushness and countersink characteristics can be measured quickly and accurately, time and time again, with no possibility of operator error.”
The patent-protected GapGun Countersink Inspection System enables the prediction of fastener flushness much faster and more accurately than mechanical gauge, with the addition of a fully auditable data trail. Tolerance bands can be pre-set, the measurement is recorded against these and then the result can be read onscreen or automatically sent to a PC to enable comparison and analysis.
Countersinks are notoriously difficult to measure in the industry; one of the main challenges for manufacturers is finding a way that factors in how to calculate the centre of the hole. The Third Dimension solution addresses this with a specially designed standoff integrated into the sensor. This enables the system to calculate this crucial point to quality check the dimensions of hole, before the fastener is fixed in place. The system is based on a single laser line to give the best possible signal quality and therefore accuracy. As opposed to other solutions on the market, multiple laser lines or bars of light produce reflections which degrade accuracy and reliability when measuring the curved inner surfaces of a countersink.
Tolerances for flushness of fasteners vary, but sometimes allow a small amount of protrusion, and always allow under-flush – for example one manufacturer specifies a tolerance of +0.05/-0.18mm on the final fastener flushness. The GapGun countersink can predict the flushness within these tolerance bands on the most common fastener types.
The countersink solution is available to order now from Third Dimension or through its global network of distributors.
For more information on GapGun visit https://www.third.com/


