Bearings are often unseen, yet they are an essential element of just about anything that rotates. To fulfil their intended purpose, is essential that bearings are manufactured correctly at all stages and crucially, remain error free at the point of shipment. One of the last operations during bearing manufacture is the laser marking process, and if an incorrect or defective component is marked this adds unnecessarily to the manufacturing cost of the part, with the additional risk that the part may continue to be packed and dispatched.
In this article, Andy Toms – Director at TLM Laser explains how the latest technology from FOBA Laser delivers a single step solution for both bearing and laser mark inspection, ensuring that only good parts are marked and that the laser mark content is also correct.
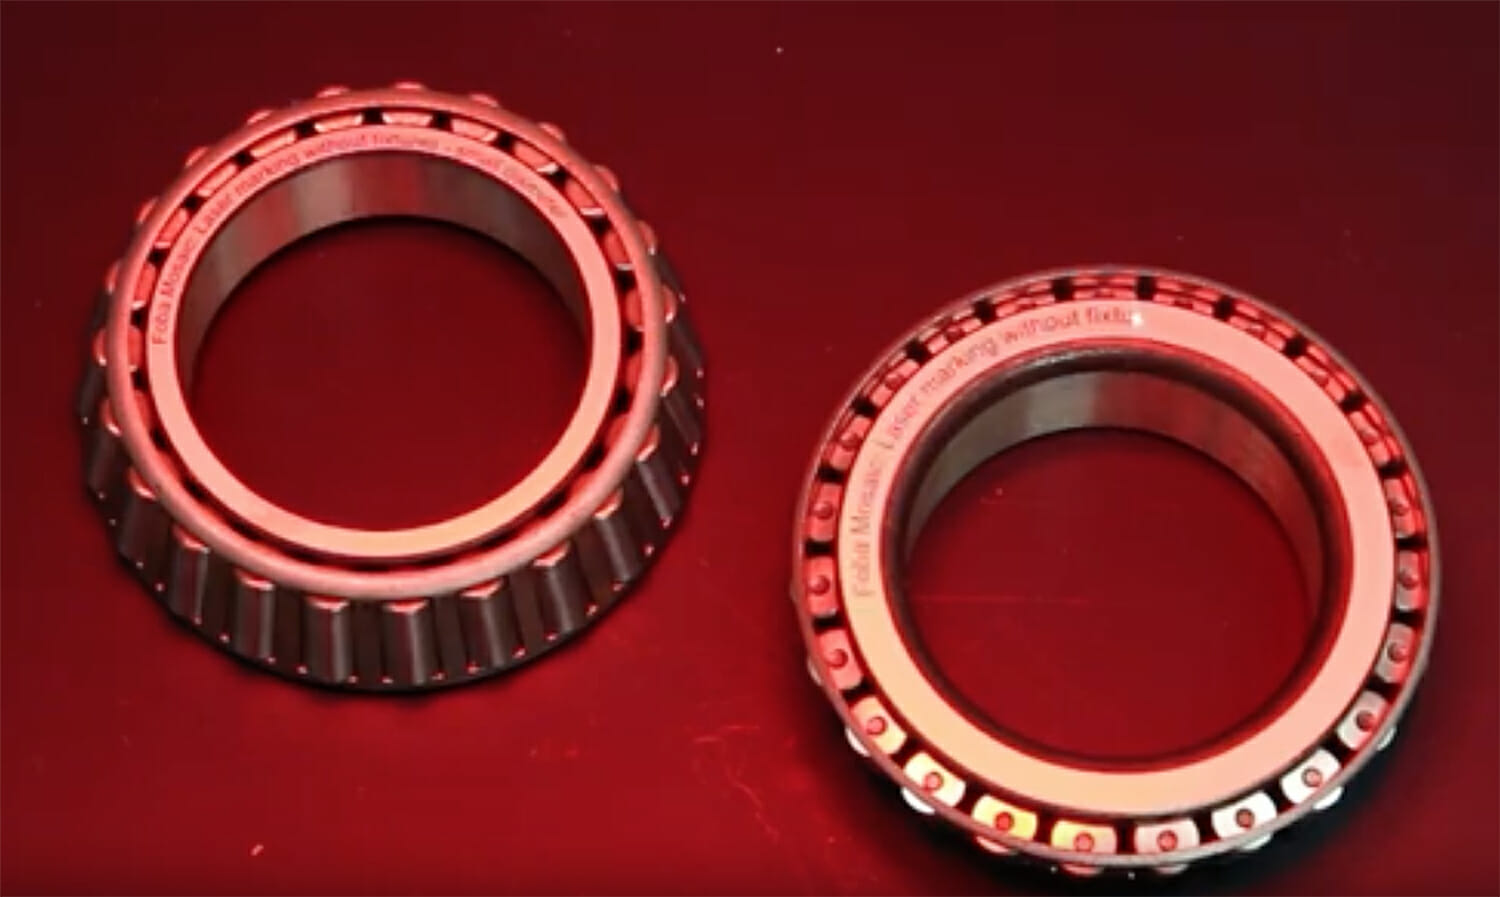
(FOBA’s single step process includes both bearing and laser mark inspection without the need for component fixtures)
There are generally two main ways in which laser marking on components such as bearings is performed. The manual method usually involves an operator placing the part into a fixture within the laser marking system and then initiating the marking process. This relies on the operator performing both pre and post marking inspection to ensure that the correct part is being marked and that there are no defects present. In an automated environment, in addition to the laser marking system, there may be both pre and post marking inspection operations carried out by a separate machine vision system.
This traditional three stage process can be reduced to a single-step-procedure using FOBA’s fully integrated bearing marking solution. Andy Toms explains: “Small defects in a ball bearing are often difficult to detect. For example, if single rollers are missing, incorrectly assembled, or if a component is of a different size to that expected. This technology takes care of roller inspection, checking for detects, missing or inverted rollers and rejects items with bad or marked rollers. FOBA’s camera-based marking solution offers a cost effective solution that integrates part detection, marking and validation of the marked characters in a single, safe process.”
The camera, integrated within the marking head, enables timely error detection and prevents false marking. The marking process is both significantly simpler and faster, as there is no need to relocate the part between separate inspection and marking stations. The part remains in the marking field throughout the initial inspection, marking and subsequent code reading operations. In addition, there is no need for component fixturing as the system automatically detects the position and orientation of the part and re-positions the marking field accordingly.
The laser marking and inspection technology described within this article is available from Bromsgrove based TLM Laser, FOBA Laser’s UK and Ireland distributors, and just part of the comprehensive range of laser based technologies and systems offered by the company.
A video of the system in operation can be seen HERE:
For further information, please contact:
Mr Andy Toms
Director
TLM Laser
2 Navigation Court
Harris Business Park
Stoke Prior
Bromsgrove
B60 4BD
Tel: +44(0) 01527 959 099
E-Mail: sales@tlm-laser.com
Web: www.tlm-laser.com


