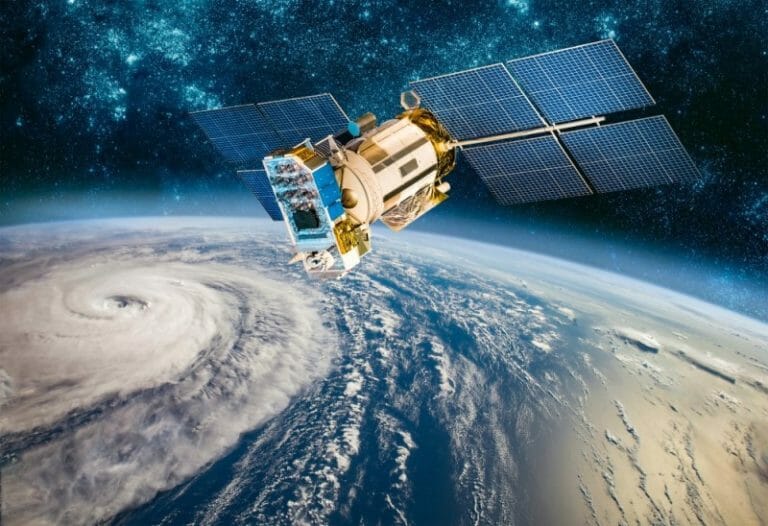
In September 1999, the Mars Climate Orbiter broke into pieces and burnt up because one person on the project failed to use the metric system. This one measurement mistake caused the failure of a 327.6 million dollar project for NASA and emphasised the importance of accuracy in the sector. Here Mike G John, head of engineering at The Sempre Group, explores the role of metrology in the growing commercialised satellite manufacturing sector.
The space satellite industry has traditionally consisted of large-scale research projects completed by large businesses alongside academic research teams. However, in recent years there has been a growing market for small, commercialised, lower cost satellites for data collection and communication projects.
While this industry shift has created new opportunities for manufacturers to upscale the production of satellite components, it also introduces unique challenges. Once deployed, there is little opportunity to adapt, maintain or repair a spacecraft, so manufacturers must make the most of its time on the ground to focus on quality.
Harsh conditions
During design and production, space satellite manufacturers will consider how the harsh conditions of a launch will impact components. From excessive temperatures and speed during launch, to the ever-changing temperatures and radiation once in orbit, there is no tougher environment.
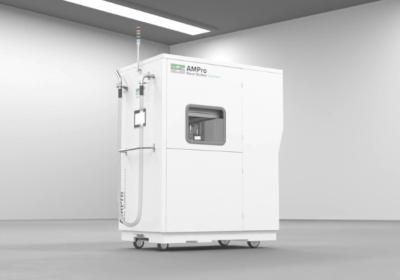
These conditions amplify any minor faults with the satellite’s quality, such as components that are not fastened properly or are not manufactured to exact specifications. Carrying out extensive product testing in thermal chambers to replicate the space environment enables engineers to understand how temperature can impact operations so that they can adapt production accordingly.
Accuracy
Satellites consist of multiple intricate parts that must be correctly fastened, connected or aligned, such as the transponder and panels. Any minor faults will distort the alignment of the equipment and therefore its performance once deployed. For example, one of the most significant challenges that engineers must overcome when developing satellites is weight — developers must consider the high per kilogram cost required to break free of the earth’s gravitational pull.
By tightening tolerances, engineers can ensure that every part meets the set specifications, increasing the probability that the satellite will operate efficiently once deployed. For example, improving accuracy will remove any unnecessary material on each component, reducing the overall mass of the satellite.
Validating each part using traditional measurement equipment can be time-consuming at a time when manufacturers want to increase production speeds to help them meet rising demand. Instead, engineers should invest in high-speed, high-accuracy equipment based on each component. For example, by using the Micro-Vu optical coordinate measurement machine (CMM), manufacturers can measure within a micrometre accuracy, rather than to the millimetre, increasing precision.
Manufacturers can also use optical measurement equipment to rapidly inspect complex parts made with delicate materials without touching the surface. For example, by inspecting solar panels with optical measurement systems offers high throughput inspection of parts that must be inspected with high accuracy, while ensuring that the equipment will not negatively impact the surface finish of the panel.
Sharing data
In tiered supply chains involving multiple manufacturers, documenting and proving accuracy is particularly important. Every company must produce parts that meet the original, shared drawing so that the components fit seamlessly during assembly. Electronic quality management software (EQMS) can provide a reliable and secure way of sharing data across organisations in near real-time.
The journey to accurate quality testing includes automated data collection to improve reporting, storing and handling of information regarding product quality. By using automated quality management software, plant managers can easily improve efficiency, productivity and quality. For example, High QA Inspection Manager can automatically identify geometric dimensioning and tolerancing (GD&T) from models or PDFs, identify critical dimensions, automate results and produce statistical process control (SPC) data to auto-populate reports.
Automated QMS tools offer manufacturers an all-in-one solution for quality management, collecting and storing data at every point, from drawing to final product. They eradicate the need for time consuming paperwork and filing, which means satellite manufacturers can easily communicate important quality information across the supply chain and remove the headache of manual compliance reporting. The system can check for errors in digital documents, ensuring that they are always filled out right first time.
The Mars Climate Orbiter demonstrated how one small error can be the difference between a successful or unsuccessful satellite project. By tightening tolerances, investing in the best metrology equipment for the application and digitising data management, engineers can improve part quality and effectively meet rising demands.
At The Sempre Group, we work closely with your team to understand the metrology challenges you face and build the best solution of measurement systems and software. To find out more visit www.TheSempreGroup.com/space-satellite/.


