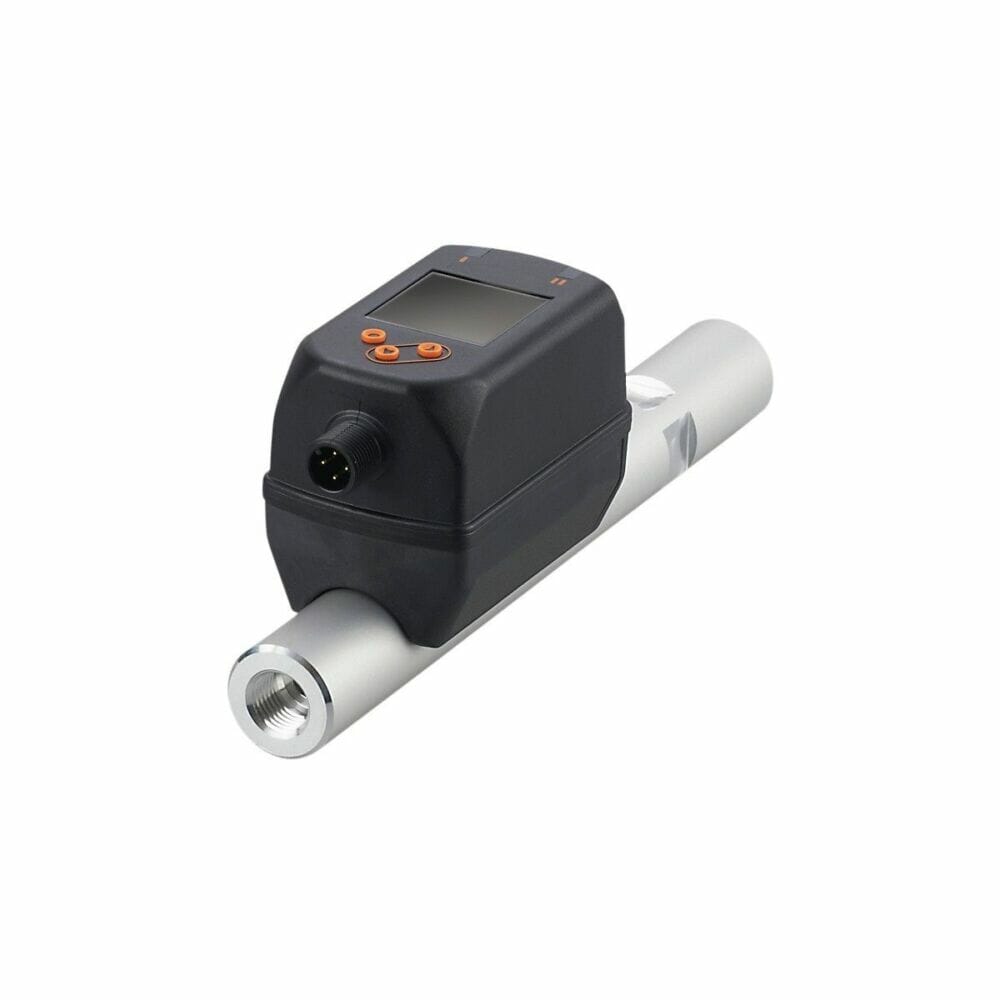
When a workpiece must be positioned accurately to within a fraction of a millimetre, or when it’s necessary to measure the surface roughness of an item, the new SDP110 air-gap sensor from ifm electronic provides an effective and easily implemented solution. This novel sensor, which uses air flowing through a nozzle to measure the distance between the nozzle and the workpiece, has a resolution of 5µm, which is just one-tenth of the thickness of a typical human hair. Maximum measuring range is 400 µm.
Despite its exceptionally high resolution and measuring accuracy, the SDP110 is easy to set up either using the built in ‘teach’ buttons, or the IO-Link interface. Automatic compensation for changes in air supply pressure over the full operating range (1 to 3 bar) is provided to ensure measurement consistency, and the nozzle is designed to be self-cleaning to eliminate the build-up of contaminants that might otherwise affect long-term stability and the accuracy of the results.

An integral display provides visual confirmation of all key operating parameters, including the gap size, which is shown directly in micro-metres, air pressure and flow rate. The same information is available via IO-Link, allowing easy interfacing with process control systems. In addition, the sensor has a conventional analogue output and a digital output that can be programmed to switch on or off at a user-defined sensing distance.
Although it is designed to deliver optimum measuring accuracy at pressures up to 3 bar, the SDP110 air-gap sensor can withstand pressures up to 6 bar without damage. This is an important benefit, as it means purge air used, for example, to clean dust and swarf from a workpiece before a measurement is carried out, can be delivered through the sensor, which eliminates the need for a separate purge air delivery system.


