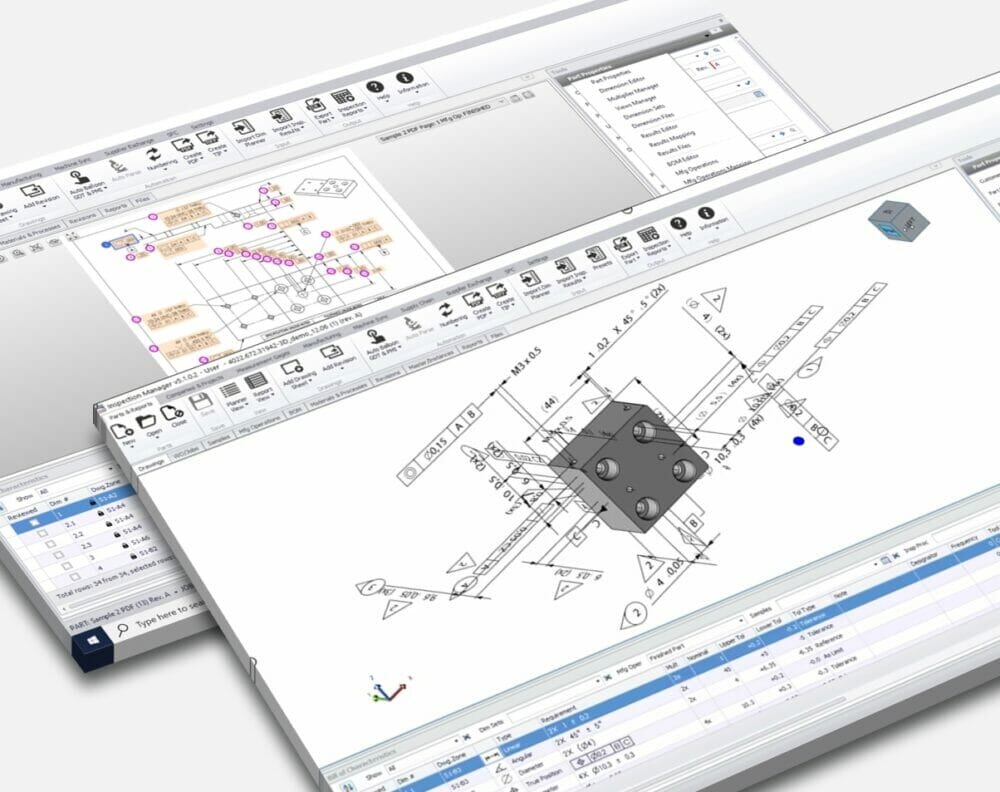
To help manufacturers improve traceability, accuracy and efficiency, industrial metrology specialist The Sempre Group has announced a new automated ballooning and reporting service. As an addition to its existing contract measurement support, the company will now automatically balloon any part drawing for customers, providing the relevant dimensions and standardising the reporting process so that manufacturers can confidently proceed with production.
Automatic ballooning of engineering drawings error-proofs the first article inspection (FAI) process by highlighting any missing elements, removing ambiguity and populating templates with all the dimensional data. Meanwhile, manual ballooning and handwriting inspection reports is time-consuming and vulnerable to human error. In highly regulated industries such as medical and aerospace, such errors cannot be tolerated.
As part of the new service, Sempre’s engineers use High QA Inspection Manager to automatically balloon customer component prints to extract the geometric data. If the customer has already installed the software, Sempre will provide the inspection files so that they can reuse the data pack for repeat measurement jobs in their facility. However, if they don’t have the software, its team will offer a PDF of the ballooned drawing and an inspection plan template, so that the manufacturer can check that all dimensions are present and correct. The new service is available as a standalone inspection package to help customers get a head start on a New Product Introduction (NPI). Alternatively, Sempre will offer the service as part of a wider contract measurement support program for customers.
“If done efficiently, ballooning and digitising of drawings can streamline the first article inspection process, ensure traceability and save manufacturers time in the long run,” explained Peter Jones, applications engineer at The Sempre Group. “There is also a trust factor – we can present standardised, professional inspection reports that are secure and that we can share easily with them. Many of our customers see us as an extra arm of their inspection team.”
“We are also using Prolink SPC data collection software as part of the new service,” added fellow applications engineer Kevin Hall. “As soon as a part is measured, this data is collected and uploaded onto Prolink so that everyone can access it and create inspection reports for customers. In many manufacturing firms, there are parts all over the shelves, because they are producing faster than they can assess. However, our new service means they can outsource inspection with confidence.”
To find out more about the new reporting and ballooning service and Sempre’s sub-contract measurement offering, visit the website.


