In many industries, the use of non-contact temperature measurement for accurate process control has become indispensable at a multitude of manufacturing steps. In many cases high product quality can only be achieved by precisely monitoring and controlling the process temperature.
Induction hardening is one example of an industrial process that requires tight temperature monitoring and control to achieve a high-quality product, which translates directly into increased profitability for the manufacturer.
The induction heating process thermal control requirements can be optimized through the use of non-contact temperature measurement and appropriate controllers to precisely control process power. Pyrometers enable accurate and precise temperature measurement and provide the repeatability that is critical for such induction processes. Moreover, pyrometers are capable of the very fast measurement speeds required for rapid thermal processes such as induction heating.
During induction hardening and tempering, a particular spot of the workpiece (such as precision parts made of steel or cast steel) is heated up and subsequently quenched rapidly. Typically, only a specific area on the surface of the workpiece is selectively heated.

Fig. 1: Induction hardening process of a cogwheel
This method of selective rapid heating and quenching of a workpiece is critical in achieving the desired hardness of the material. When hardening the surfaces of steel, cast steel or cast-iron components, the following properties must be achieved:
- The component has to attain the required hardness on all desired areas
- The desired or required hardness depth has to be achieved
- The component must not be damaged
- The mechanical distortion of the component should be minimal
- The process should be as short as possible
- The results have to be repeatable
The key to meeting all of these requirements is to ensure that the workpiece is heated and cooled with the correct temperature profile, which requires the accurate and repeatable real-time monitoring and the control of the temperature. Temperatures which are too low lead to a hardness depth which is too shallow, and temperatures which are too high may result in damage to the component. The ramp rate and duration at temperature also plays a significant role.
To monitor the temperature accurately and precisely in a production environment, infrared pyrometers are an excellent solution (see Figure 2). They are non-contact, just like the induction heating process, so they will not contaminate or damage the part, and easily handle moving parts.

Fig. 2 process temperature monitoring without contact by using an IR pyrometer
The frequency response is fast, allowing control during fast ramp-up and quenching. They can be very accurate and have a wide temperature range, but there are technical details that must be considered carefully when selecting the best type of pyrometer for a specific process, which is discussed below.
Pyometer solutions for induction hardening processes
Depending on the specific process requirements, induction hardening of metals can take place over a wide range of temperatures. Various types of pyrometers can be used to measure the workpiece in these temperature ranges: single-color pyrometers, two-color pyrometers, or single and two-color combination pyrometers.
In the hardening process step, the metal is typically heated up to about 850 °C to 1000 °C. At such temperatures, the metal surface oxidizes, so the ratio (two-color) mode would be the better choice for measuring. Ratio (two-color) pyrometers work well when the workpiece emissivity is unknown or changes during the process but is approximately equal at the two pyrometer wavelengths. Two-color pyrometers are also robust in manufacturing environments, as they make the measurement insensitive to dirty windows or particles in the optical path.
After hardening, the metal sometimes goes through a tempering process where it is slowly heated up to a temperature range of 200 °C to 450 °C. The final properties are sensitive to the ramp up temperature profile, so the most precise temperature measurement is required at this stage of the process. Even a few degrees of deviation can result in undesirable material properties. The challenge for infrared pyrometers in this process is that the metal surfaces tarnish and discolor when heated, potentially creating measurement errors due to unknown surface emissivity.

Fig 3. Typical tarnishing of a steel sample during tempering
Two-color pyrometers can act sensitively to this “play of colors” during heating, which can result in measurement errors caused by the change in emissivity of the material surface, which influences both individual channels and does not occur evenly. To compensate for this, a permanent correction of the different emissivity changes in both channels would be required, which is technically very challenging. Alternatively, in such cases, measuring with a single-channel pyrometer, which is normally less sensitive to surface discoloration, does help to ascertain stable measurement values.
Fortunately, both one-color and two-color pyrometers are available on the market which can meet the full range of requirements. These are typically short wavelength pyrometers in the near infrared and have a large range of options for spot size, working distance, and response times. There are other options on the market such as a pyrometer which automatically switches between one-color mode and two-color mode with smooth transition between the two modes (Impac IGAR 6 Advanced, fig. 4)

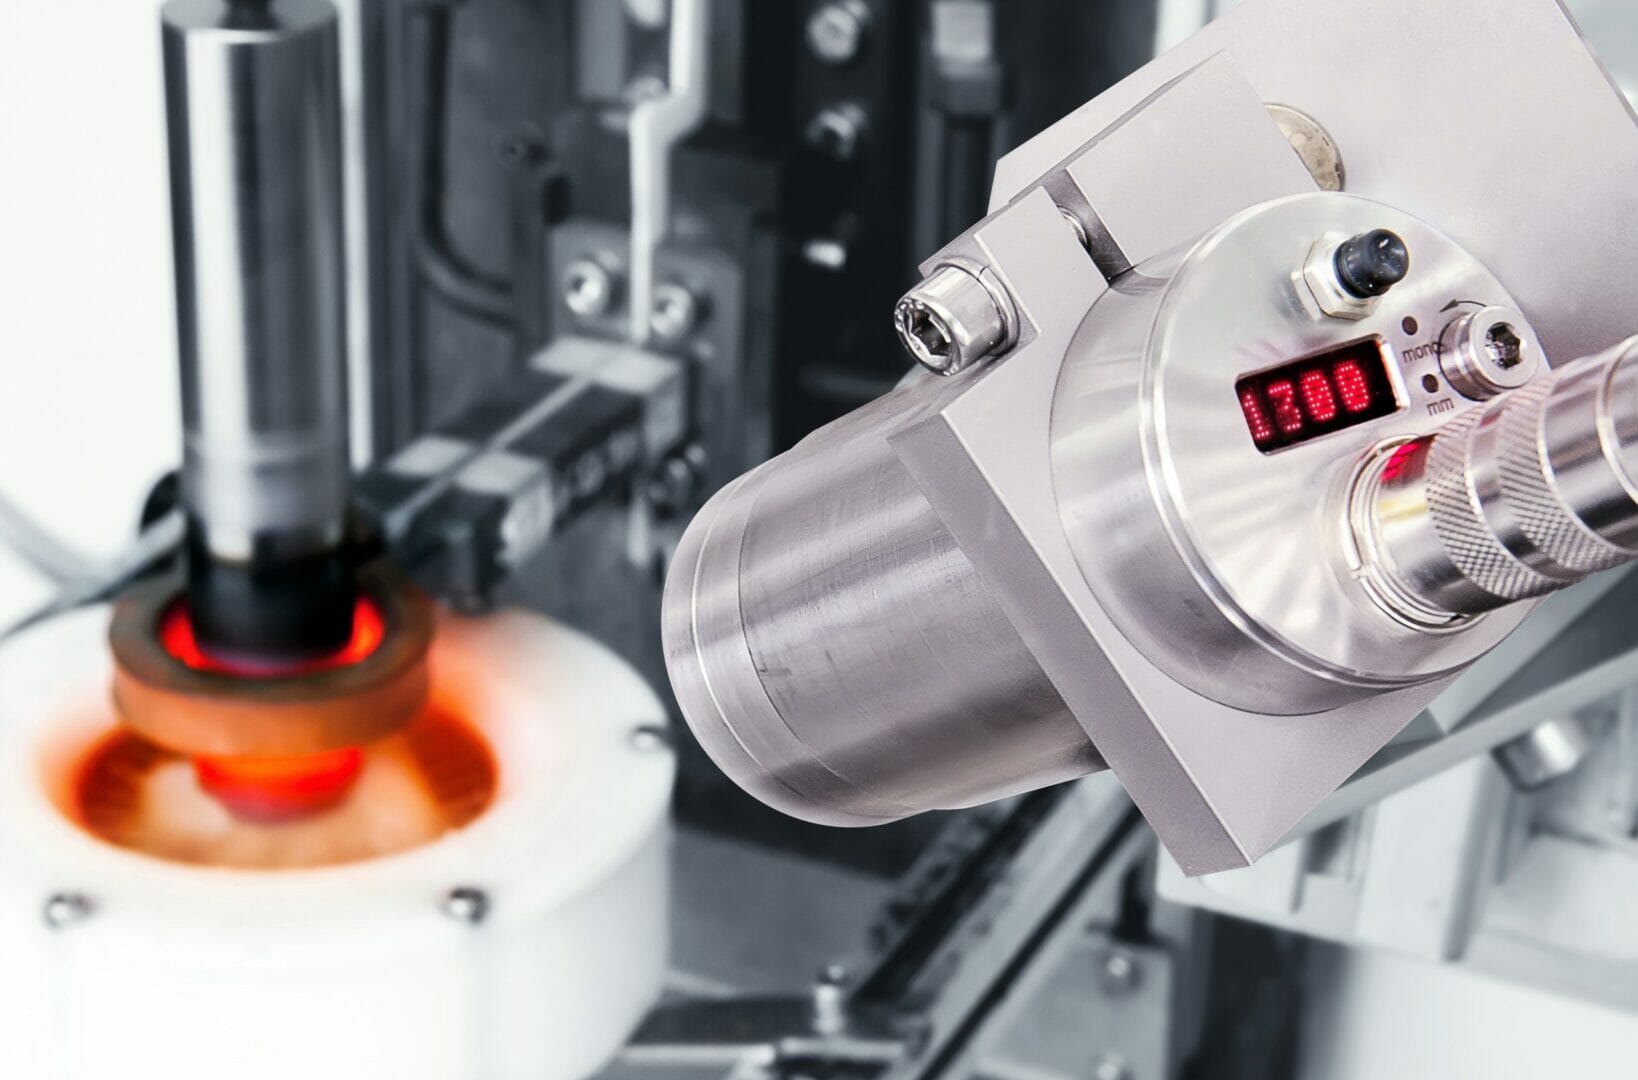
Fig 4: Two-color pyrometer IGAR 6 Advanced monitoring an induction hardening process
Another type of instrument on the market are hybrid pyrometer-thermal imagers such as Impac ISR 6-TI by Advanced Energy, which combine the accuracy of the two-color pyrometer measurement with spatial mapping of a thermal imaging camera. This enables the extraction of the temperature surface uniformity of the workpiece, which can be optimized and tracked.
CONCLUSION
Precise non-contact temperature measurement as well as a reliable process control plays an important role in the induction heating processes such as tempering and hardening. Each induction process has specific process requirements that must be considered when selecting the optimal type of pyrometer. The selection of a proper pyrometer is essential in order to ensure a precise, reliable, and trackable temperature measurement, which ultimately leads to an improved manufacturing process.
Using the proper pyrometer for controlling induction processes provides significant advantages for the user, such as:
- A more robust and repeatable production process which has higher uptime and improved quality
- Faster time to market by reducing process optimization time
- Reduced cost by reducing scrap
- Maintaining exact quality standards
- Enabling a gapless and trackable process record for each part for troubleshooting and quality audits
CONTACT
Advanced Energy
LumaSense Technologies GmbH
Raunheim, Germany
Email: info@aei.com
advancedenergy.com


