The amount of data that is created globally has increased by 5,000 per cent from 2010 to 2020, according to Forbes. While we are seeing a rapid increase in data collection, particularly in industry, are we using it effectively? Here Mike John, technical director of industrial metrology specialist The Sempre Group, explains how manufacturers in highly regulated industries can automate data collection to streamline compliance reporting and gain insights into their processes.
Quality management is integral to high precision industries, such as medical and aerospace. Manufacturers in these sectors must comply with increasingly stringent regulations and provide customers with a fully traceable report that proves quality throughout the product’s lifecycle to ensure they continually deliver safe and reliable products.
Medical device manufacturers, for example, must ensure that they are 21 CFR Part 11 compliant. This regulation ensures electronically generated information is fully traceable and there are no gaps where human error can occur in data collection and introduce untraceable faults, leading to non-compliance or retesting. There must be a trail of where data is amended, stored, transferred or accessed. Similarly, AS9100 is the international quality management systems standard for the aviation and defence industry. To comply, manufacturers must clearly demonstrate and communicate safety and reliability across the supply chain, as errors can be fatal in this industry.
The problem with manual
Manual data collection is time consuming, is not fully traceable and significantly increases the risk of human error, because there is no guarantee that operators input data from one source to another accurately. By reviewing incorrect data operators might recalibrate machinery unnecessarily, stop production or allow lower quality parts to pass inspection, damaging production levels and making the parts non-compliant.
Monitoring quality management data can involve isolated Excel documents that can be easily misplaced on computers, making it hard to prove compliance if parts are not up to specification. Additionally, finding historical data from parts made months or even years ago can become a laborious task that only people with access to the data files and systems can carry out.
Without a digital thread connecting drawing to product to report, the process can never be fully traceable. For example, a developer might take notes of measurements in a first article inspection (FAI) report and input the dimensions into an isolated Excel file that isn’t linked to the original ballooned drawing or future quality checks, making it difficult to guarantee that all parts meet specifications.
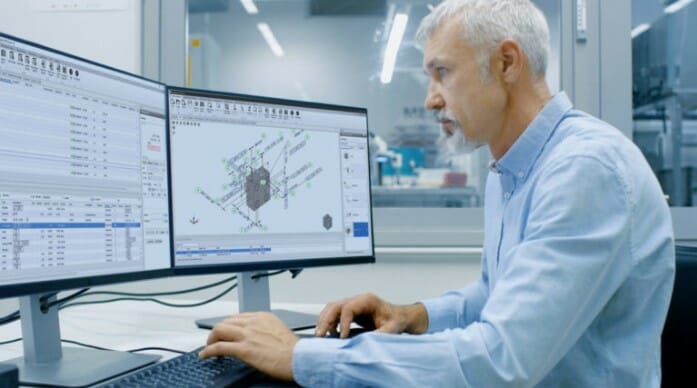
Instead, the operator can use fully traceable automated data collection systems, such as High QA, to streamline FAI reporting. It allows developers to automatically identify geometric dimensioning and tolerancing (GD&T) from models, identify critical dimensions and input all the data in the ballooned drawing, populating a final report. Engineers can store the original report and future measurement data in the same centralised system, allowing them to automatically compare the ballooned drawing to end products.
Value
By using automated, real-time data collection software, such as the Prolink SPC Data Collection Software, manufacturers can extract real-time data from any device to enable full analysis and reporting. Removing isolated documents allows manufacturers to easily communicate important quality information to stakeholders, reducing the time required for compliance reporting. Automated reporting and data collection allows manufacturers to get the most out of their workforce by moving them away from repetitive work and into more skilled processes that require human intervention.
Analysing the reports provides engineers with full visibility over production quality processes, allowing them to both prove and identify areas for improvement. For example, if operators notice that a few parts are not compliant, they can use the report to discover when the fault occurred and proactively resolve the issue. Over time this will decrease the number of defective products, reduce material waste and improve productivity so that customers can receive parts that are fully compliant sooner.
Manufacturers can also use software and data to make proactive changes on the shop floor during production. Reaction Plan Manager, for example, is an automated instruction-based software that analyses measurement data, calculates offset and provides tool correction instruction. For example, if a part does not meet specification, the software will instruct the operator about how to adjust the machine to correct the issue without the need for time consuming data analysis or a specialised engineer to assess calibration. By adjusting tooling as soon as they notice an issue, engineers can ensure that fewer parts are manufactured out of tolerance, reducing scrap.
As the amount of data usage continues to grow exponentially, we need to understand how to make the best use of it. The same can be said for highly regulated manufacturing industries — by analysing reports acting on the results, manufacturers can make the informed decisions that will improve efficiency, reduce costs and ensure compliance.
To find out more about investing in a fully automated and unified quality management system, visit our website https://www.TheSempreGroup.com.


